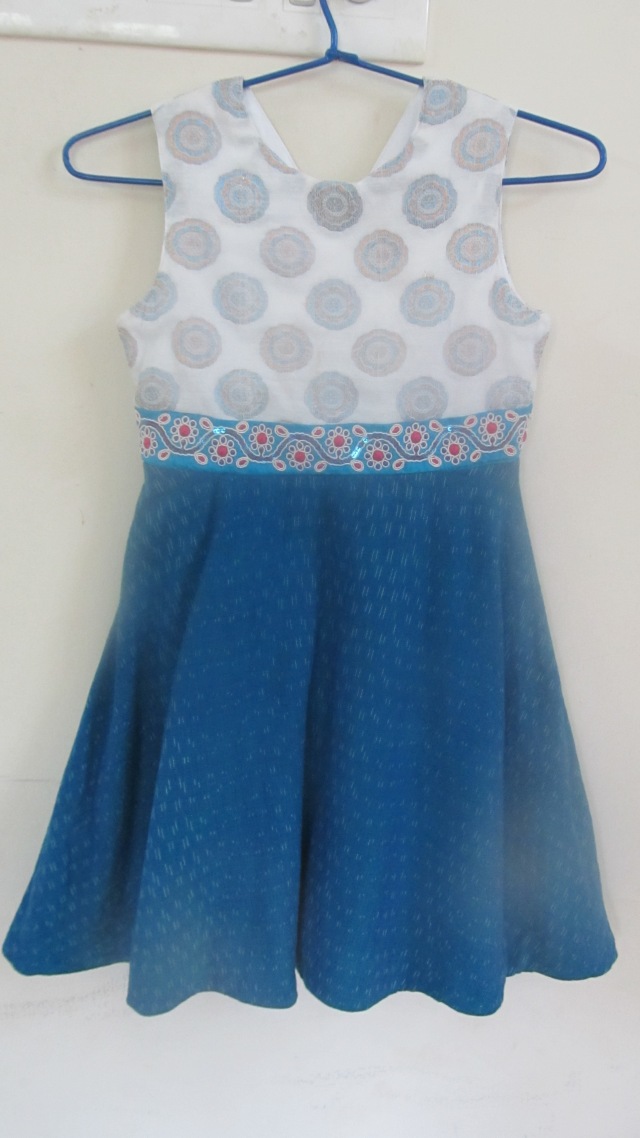
I have drafted and sewn a dress , without using a commercial pattern ! And it turned out very well, I think. So well that I feel it deserves a name, so I’m calling it the Roshni Dress.
I regularly modify and adapt commercial patterns in my sewing for my daughter, but this is possibly the first garment I have made which involved drafting a basic block, constructing a pattern and sewing it up. I thoroughly enjoyed the process, especially so since I sewed up the final dress without even constructing a trial version, and was fortunately not presented with any nasty surprises . But I would certainly do a muslin the next time. Too risky.
I used the book ‘Metric Pattern Cutting for Childrenswear and Babywear ‘ by Winifred Aldrich. It was published in 1999 and is considered a textbook for students of garment design. I have had this book for about 5 years now, and have used it to make various pattern modifications, like this one – tulip sleeves : the original pattern, Citronille Dorothee , had puffed sleeves.
For this dress, I used my daughter’s measurements, which corresponded mostly to the measurements for a child of 98 cms height as tabulated in the book. I drew the basic bodice block following the instructions in the book, then added 1.5 cm seam allowances to the front pattern piece. For the back , I drew the back opening with a V at the neck and an arched cut-out at the lower part, meeting at a point approximately halfway up the bodice back, and overlapping by 1 cm. I then added seam allowances as before. The arch is connected at its base by an elasticated waistband. The other option would have been to add an invisible zipper , but that would have meant more exposed skin at the lower back when she wears it. I didn’t want the dress to look too sophisticated. She’s still a small girl.

The skirt was a half-circle, drawn using instructions from the book, but these can be found in lots of other places as well, Pinterest for one – just calculate the required radius for the given circumference ( i.e. waist measurement), draw a half-circle using twice the radius measurement, then draw the skirt using the length required. Mark centre front/back on the pattern. Finally add seam and hem allowances . Cut two identical pieces of the pattern for the skirt front and skirt back.
I used a ivory silk-cotton brocade remnant for the bodice and a teal cotton ikat for the skirt. Also some embroidered ribbon left over from another project .The construction was easy , a standard lined bodice with all raw edges hidden in the lining, except for the elasticated waistband incorporated in the back. Skirt and lining were done with French seams because I like things to look neat and tidy on the inside too. And finally bodice and skirt assembly joined together, with the joining seam finished off using my new serger. It really helps to have good tools ! I also did a faced hem for the outer skirt to retain a neat finish , but just went with a rolled hem for the lining. A single button closes the back overlap.

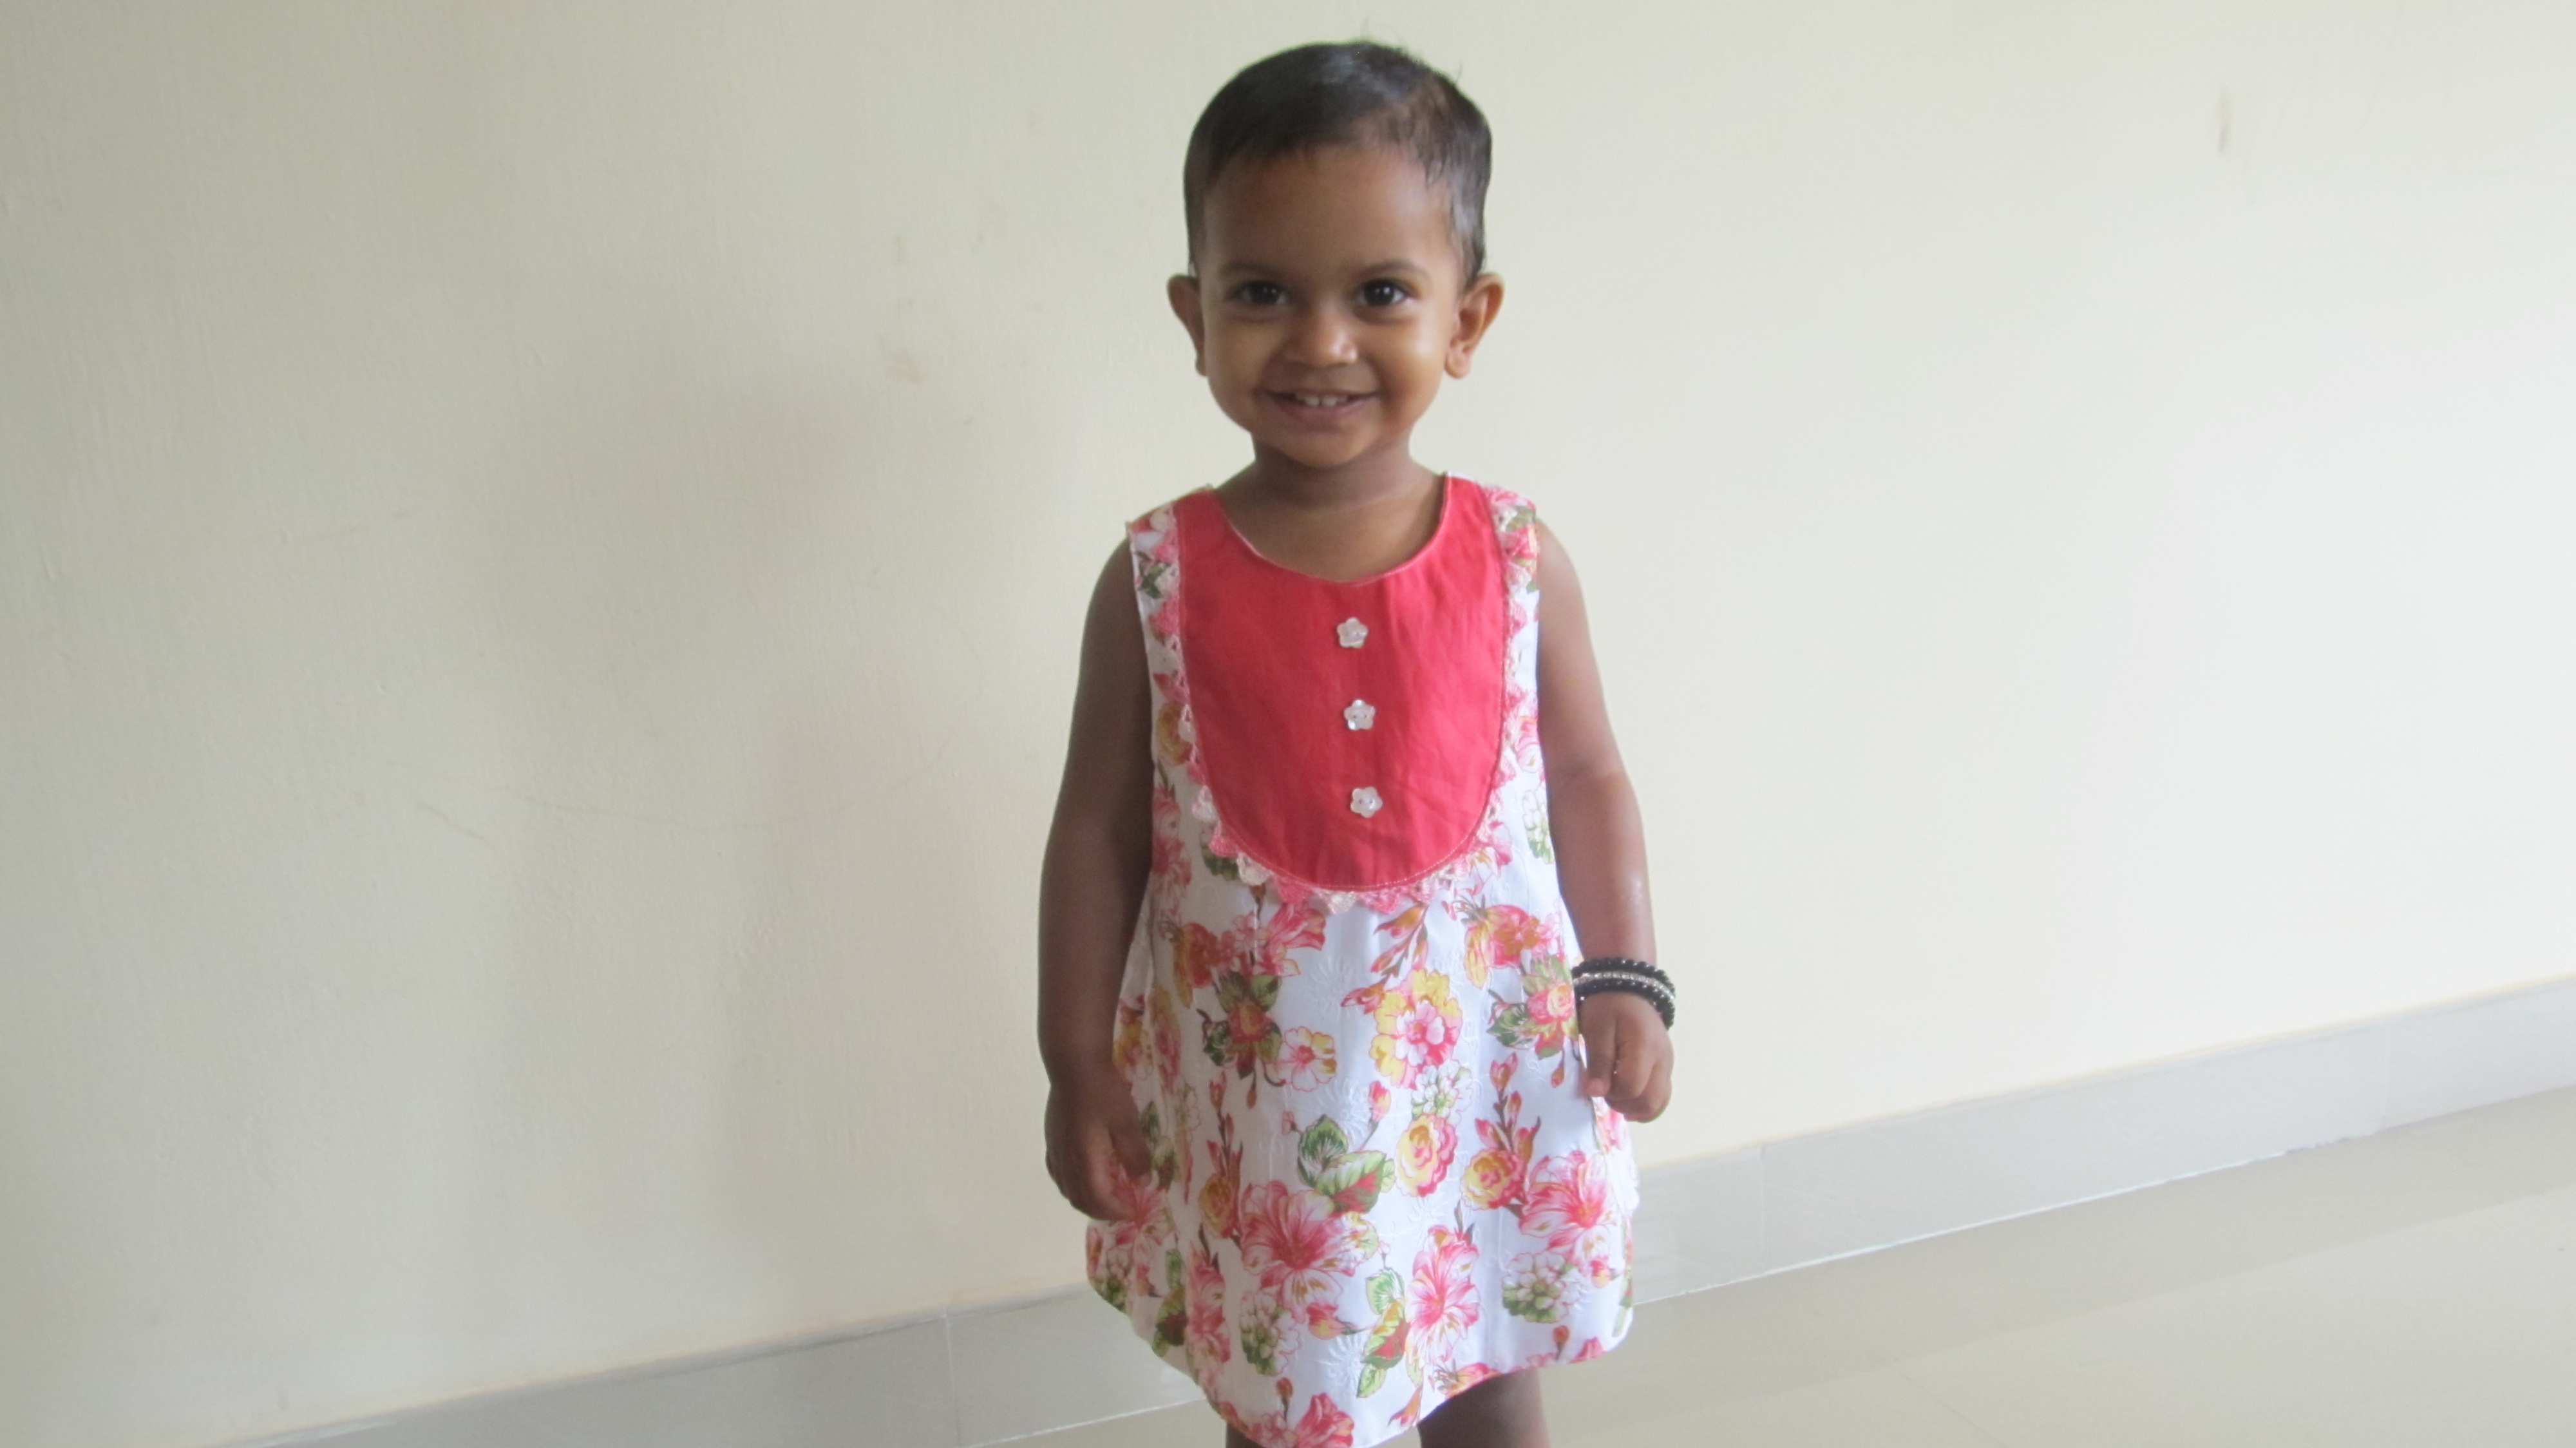
She loved it ! How did I know ? Because there was absolutely no mention of it not being pink in colour . No questions asked.


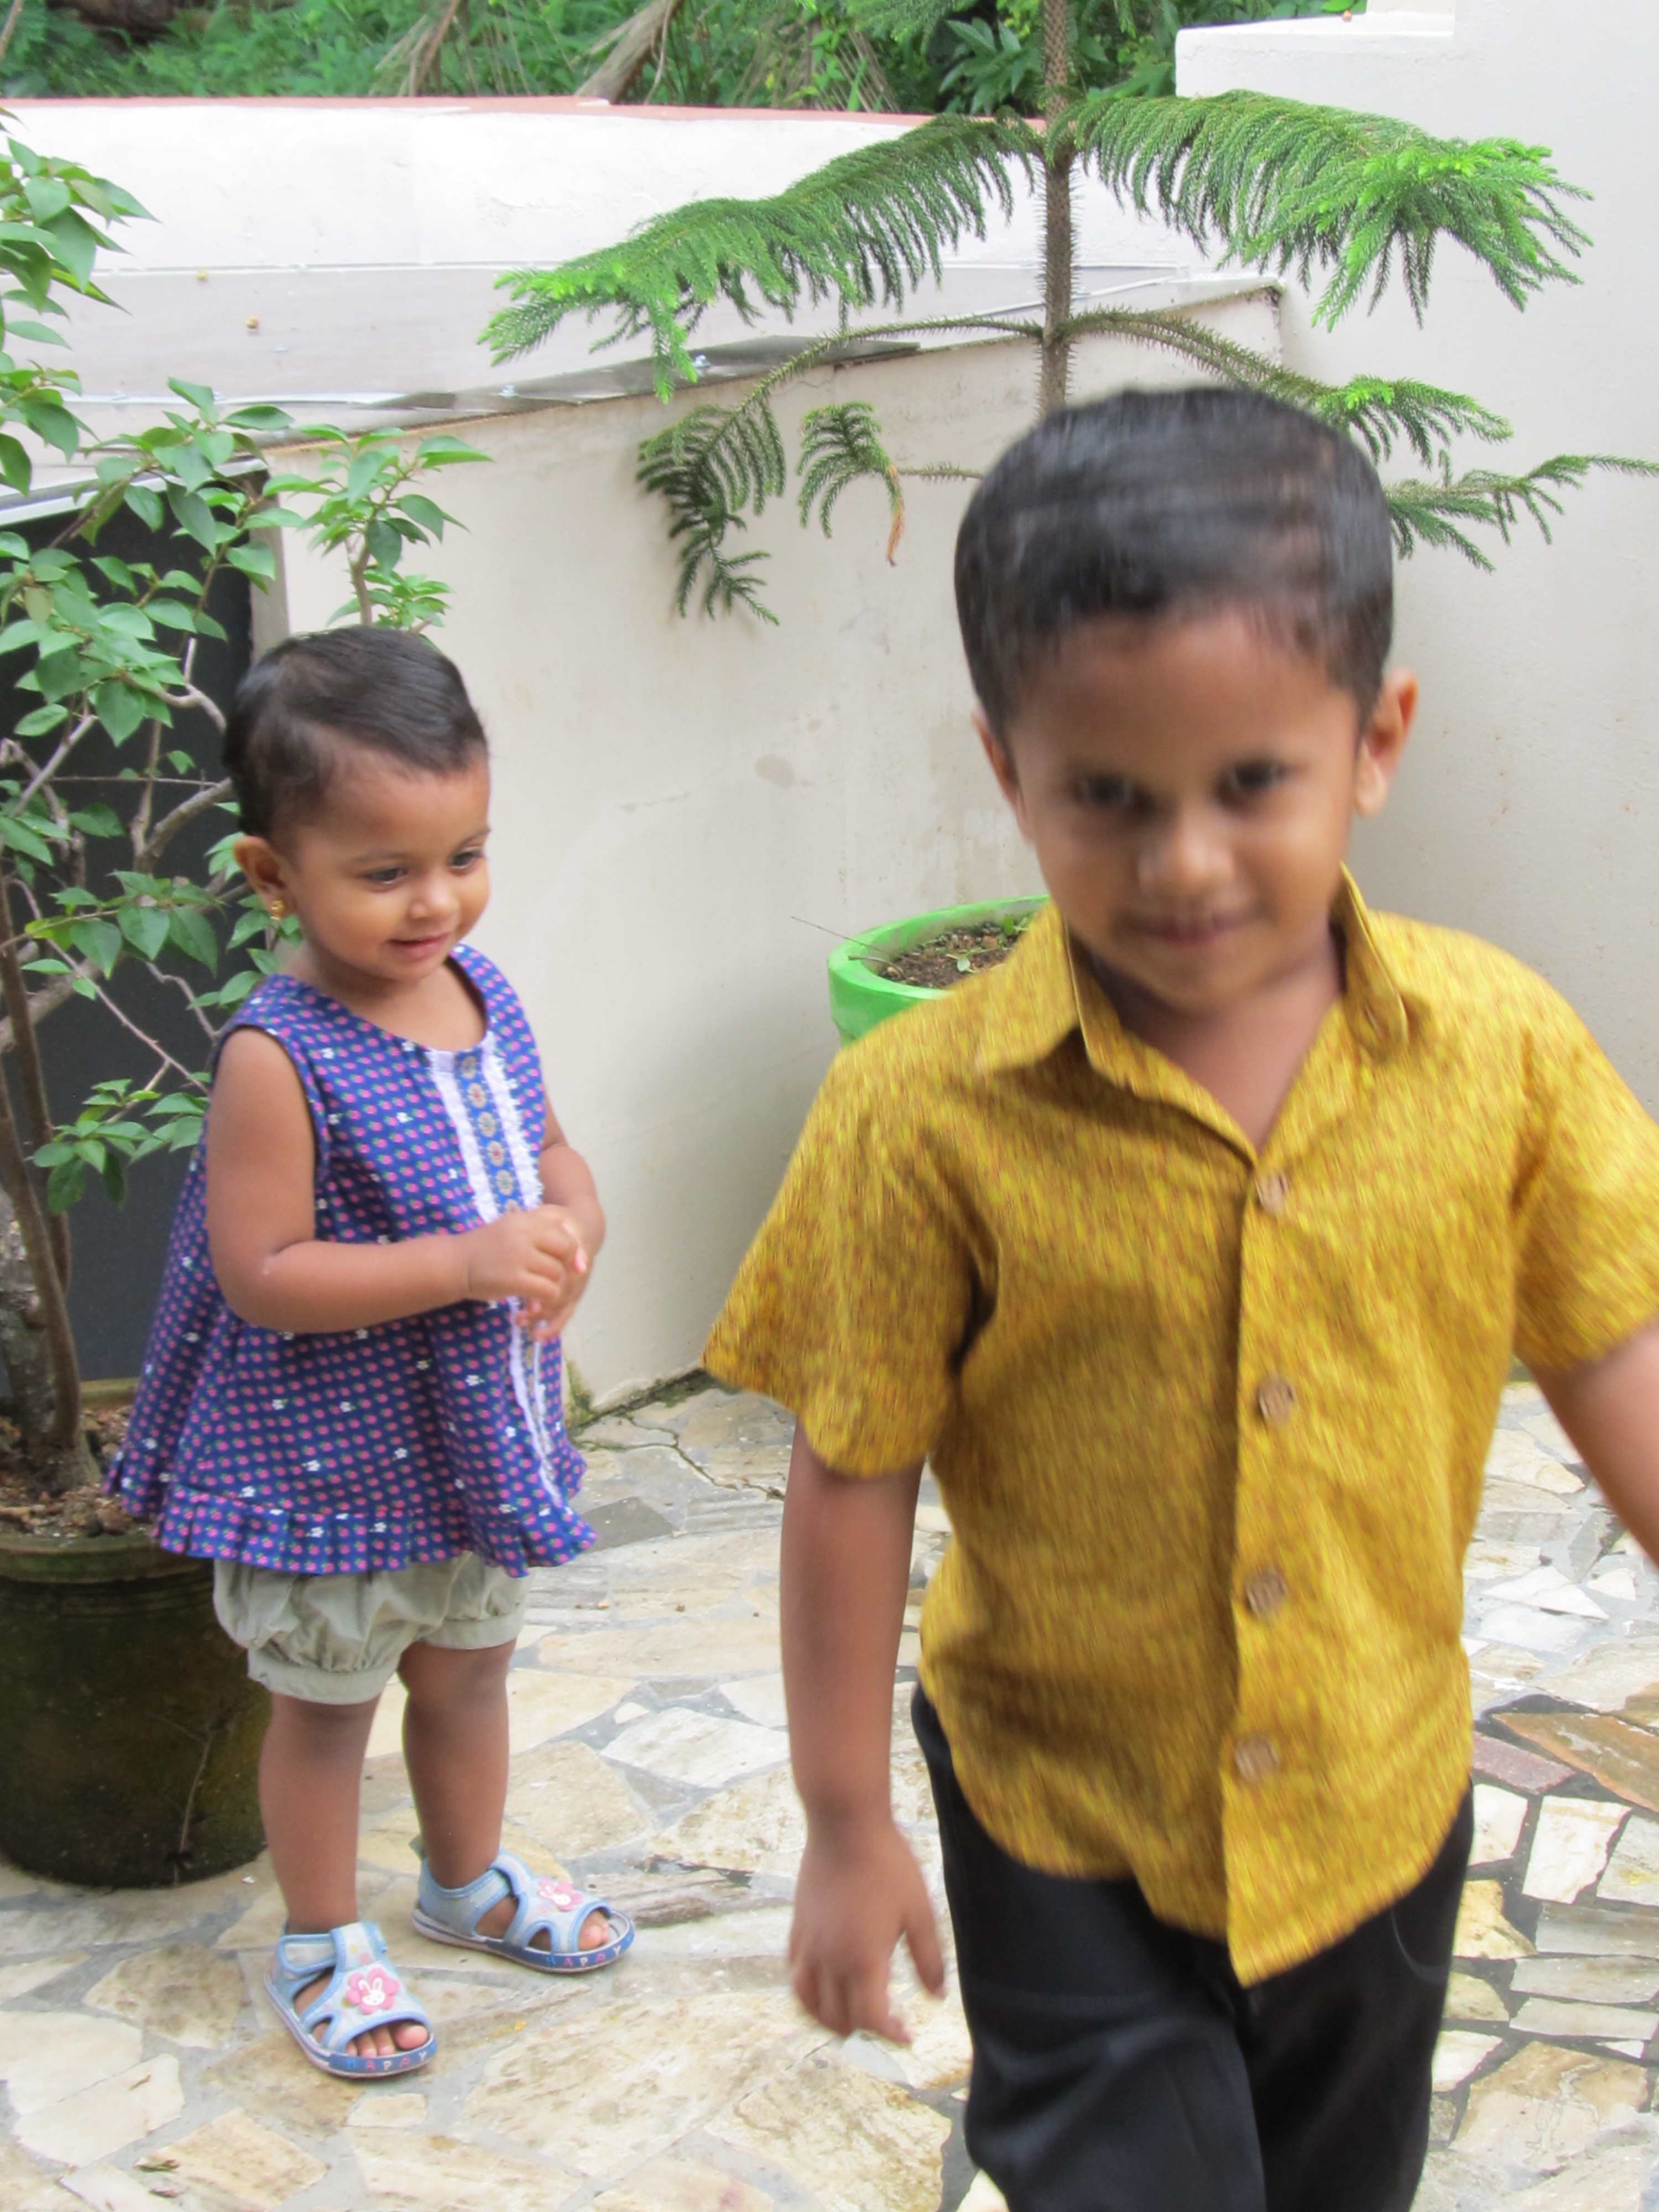
 So I neglected my blog for more than a year, and then my teenager revamped it for me, so I am back to blogging. I never stopped sewing though. Most of my sewing is documented in my Flickr album, though there are garments that never made it there either. Generally because they were worn as soon as they left the sewing machine, never photographed while being worn, and then unfit to be photographed because they were in the laundry basket! And too wrinkly after they came out of the laundry , ha ha.